You can actually build something real with code, even if typing every line feels like too much, and vibe coding is how we bridge that gap. Instead of staring at a blank editor, we describe what we want in plain English, and the AI turns it into working code we can test, break, and fix together. At our secure development bootcamp, we’ve seen that a personal expense tracker is the best first project, because it’s small, practical, and perfect for learning secure habits early. We’ll walk through that, step by step, keep reading to see how we build it.
Key Takeaways
- An expense tracker teaches iterative prompting and delivers real-world utility.
- Start with a browser-based tool like Replit for zero-setup simplicity.
- Build in small, testable chunks to maintain control and avoid AI confusion.
Why a Simple Project is Your Best Bet
You could try to build a complex social media bot right away. The AI might even generate a thousand lines of code for it. But you’d be lost, unable to test or modify it. A good first project has discrete components that build logically on one another. It forces you to break your idea into small, manageable prompts.
Each small success, like getting a form to appear on the screen, builds confidence. It’s a project that grows with your skills. It has a clear beginning, middle, and end, unlike more open-ended ideas that can spiral. The real win is the utility. You finish with a tool you might actually use. That tangible result is a powerful motivator to learn more.
Three Perfect First Projects for Vibe Coding
Credits: Mikey No Code
While the expense tracker is our top recommendation, the best project is one that excites you. Here are three outlines you can follow, each teaching a slightly different set of core skills.
Project 1: The Personal Expense Tracker
This is the ideal starting point. It covers data input, storage, and visualization in a logical flow.
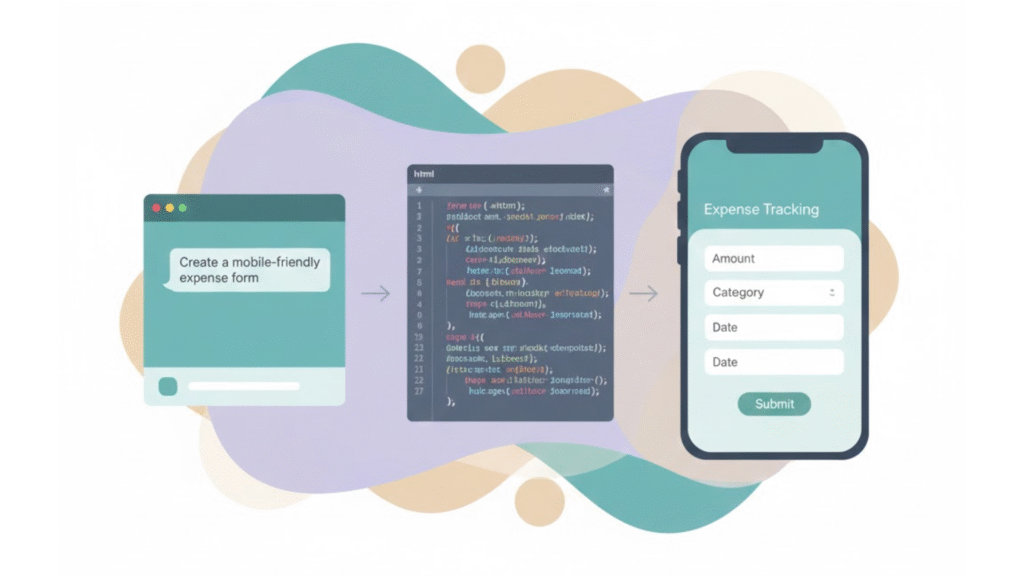
- Core Concept: A simple app to log spending by category and view a summary chart.
- Initial Prompt: “Create a mobile-friendly form for entering an expense. Include fields for amount, category (Food, Transport, etc.), and date.”
- Key Skills Learned: Form creation, data validation, local storage, chart integration (Chart.js).
- Sample Refinement Prompts:
- “Add validation to ensure the amount is a positive number.”
- “LocalStorage works well for a personal prototype, but it’s not suitable for large datasets or multi-device sync , switch to a backend or IndexedDB/Firebase when you need persistence across devices or larger volume.”
- “Create a dashboard that shows a pie chart of spending by category.”
Project 2: A Mindful Digital Timer
This project focuses on a single-screen application with interactive controls and time-based logic. It’s excellent for learning how to handle user events.
- Core Concept: A visually pleasing timer for focus sessions or meditation.
- Initial Prompt: “Build a webpage with a large number display set to 25 minutes, plus start, pause, and reset buttons.”
- Key Skills Learned: Event handling, state management, DOM manipulation, using setInterval.
- Sample Refinement Prompts:
- “Make the timer count down in seconds when the start button is clicked.”
- “Change the background color gradually as the time decreases.”
- “Play a soft sound when the timer reaches zero.”
Project 3: A Personal Mood Playlist Generator
This project introduces dynamic list creation and basic data structures. It’s more about front-end logic and user interaction.
- Core Concept: An app that lets you log your mood and suggests a matching playlist.
- Initial Prompt: “Create an app with a dropdown to select a mood (Happy, Sad, Energetic) and a ‘Generate Playlist’ button.”
- Key Skills Learned: Working with arrays/objects, conditional logic, managing multiple data sets.
- Sample Refinement Prompts:
- “When clicked, display a list of 3 song titles that match the selected mood.”
- “Store the generated playlists in local storage and show a history section.”
- “Add an ‘Add to Favorites’ button next to each song.”
The Ideal Tools for Getting Started
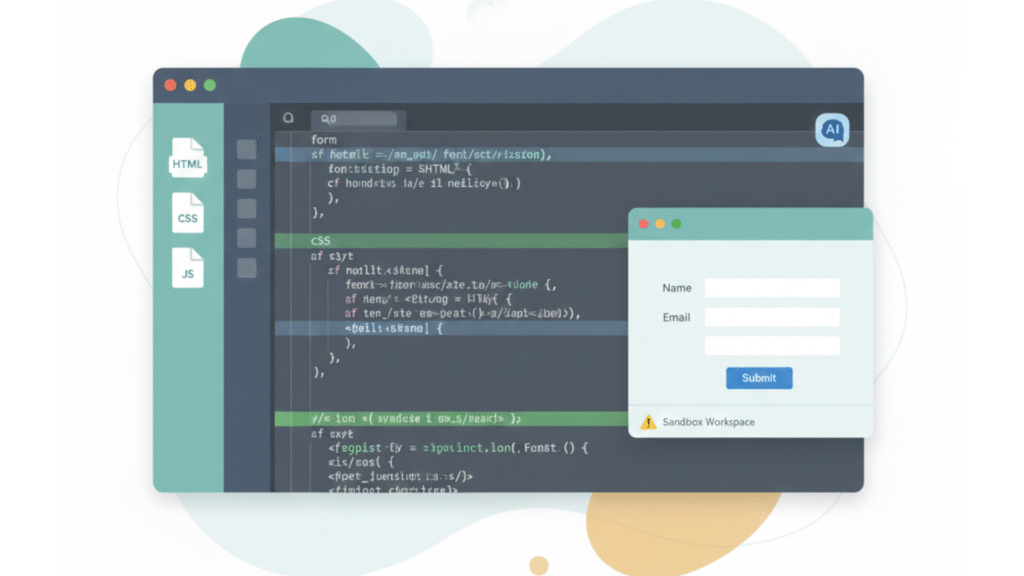
For your first project, friction is the enemy. You don’t want to spend an hour installing software. A browser-based Integrated Development Environment (IDE) is the answer. Replit is a strong choice here, especially when paired with lightweight ai-assisted coding that helps shape your early iterations naturally.
Its AI agent is built right in. You get an interactive preview of your app as you build it. Note: autonomous coding agents are powerful but not infallible, there have been public incidents where an agent modified or deleted live data. Use agents on isolated workspaces, keep backups, and avoid running them directly against production systems.
This immediate feedback is crucial. You can see the result of your prompt within seconds. If something looks wrong, you can immediately ask for a fix. Later, you might move to a desktop editor such as Cursor for a more integrated editing experience; Cursor offers AI-assisted editing features but may include paid tiers and different workflows than browser IDEs. (1)
This shift becomes easier once you’ve learned how to stabilize your workflow by setting up a vibe coding environment that fits your personal style. But for day one, keep it simple. The goal is to get to the “vibe” part of coding as quickly as possible.
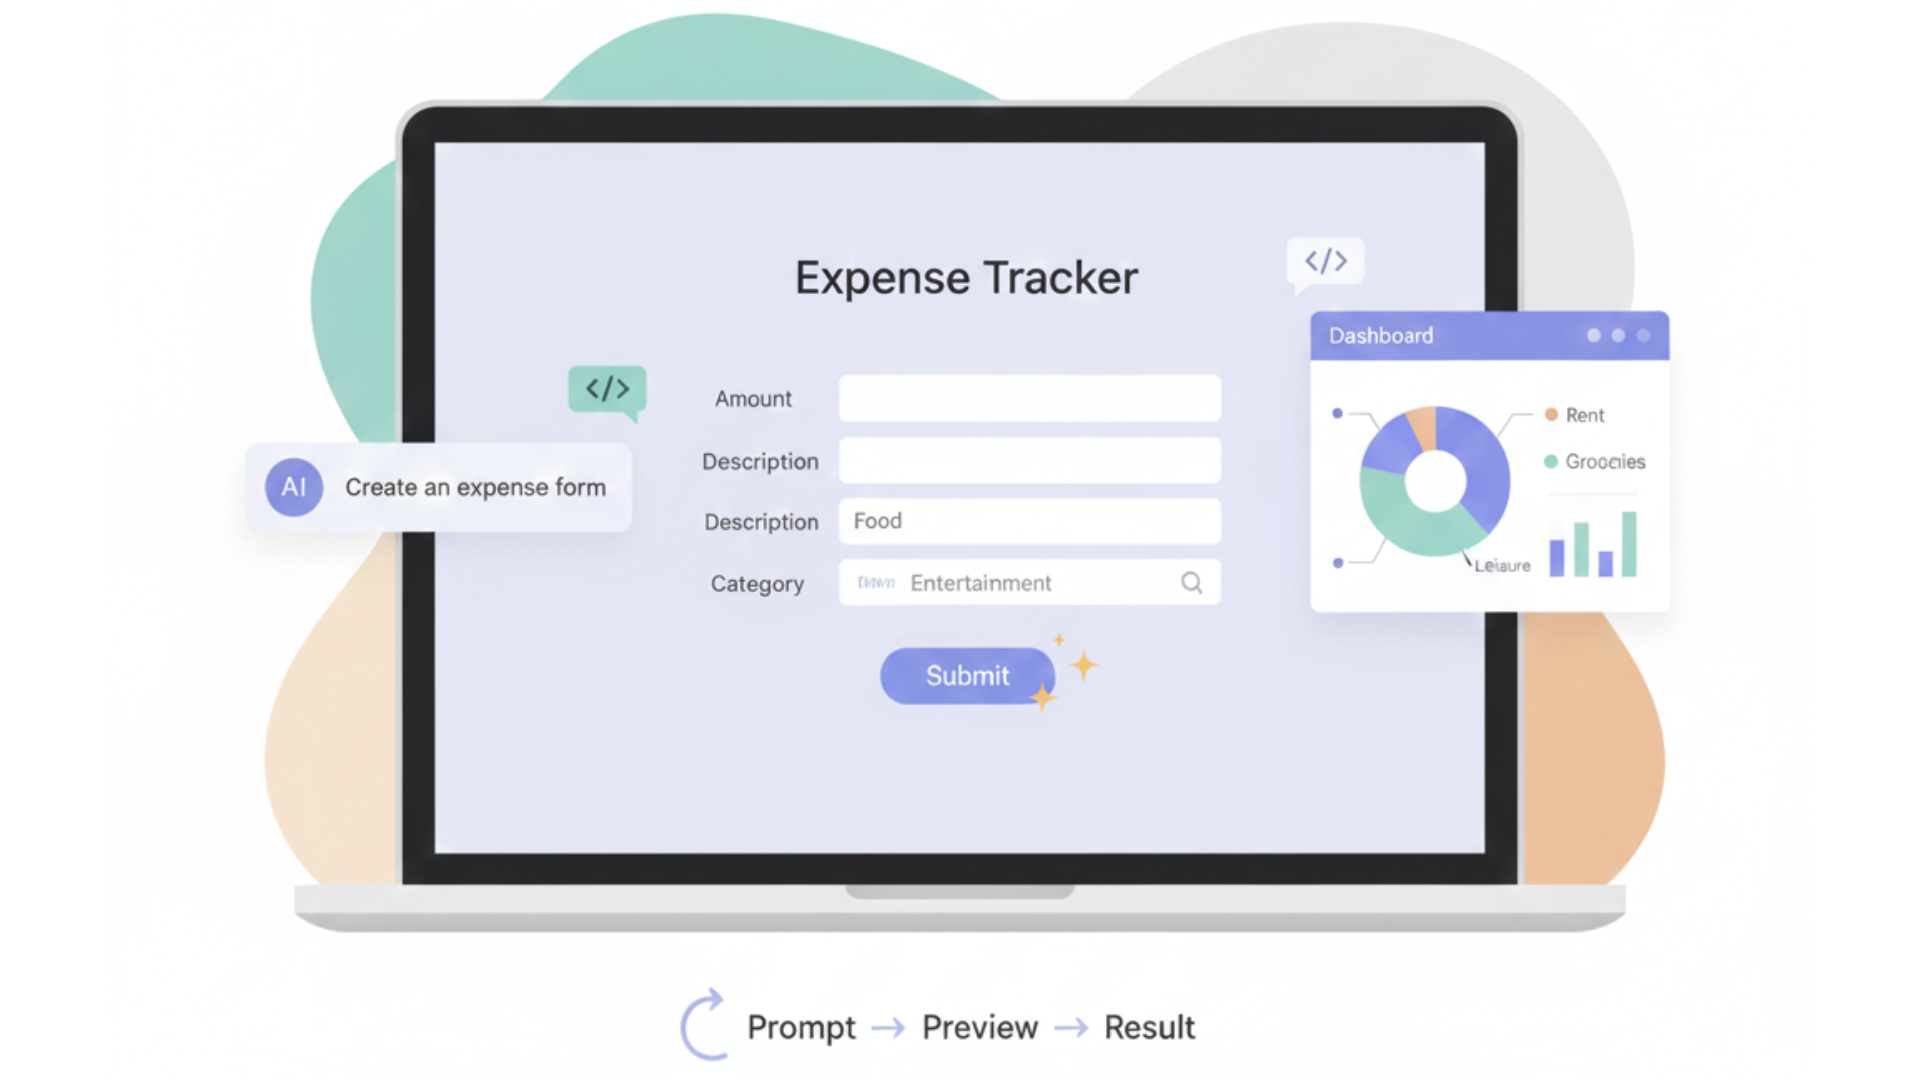
A Step-by-Step Conversational Build: The Expense Tracker
Let’s build the expense tracker together. Imagine you’re in Replit, starting a new project just like when you’re getting started with vibe coding using an HTML/CSS/JS template. The blank screen awaits your first command.
Your First Prompt: “Create a mobile-friendly form for entering an expense. It should have fields for amount, category (like Food, Transport, Entertainment), and date. Use a simple, clean design.”
The AI will generate the HTML structure and basic CSS. You’ll see a form appear in the preview pane. It might be barebones, but it’s a start. Now, you iterate.
Your Refinement Prompt: “Add JavaScript to save the form data to the browser’s local storage when submitted. Also, add validation to ensure the amount is a positive number.”
This prompt introduces data persistence and input validation. We always add this check. It’s a smart way to build that prevents common errors. The AI will write the JavaScript logic. Test it. Enter a negative number, it should show an error.
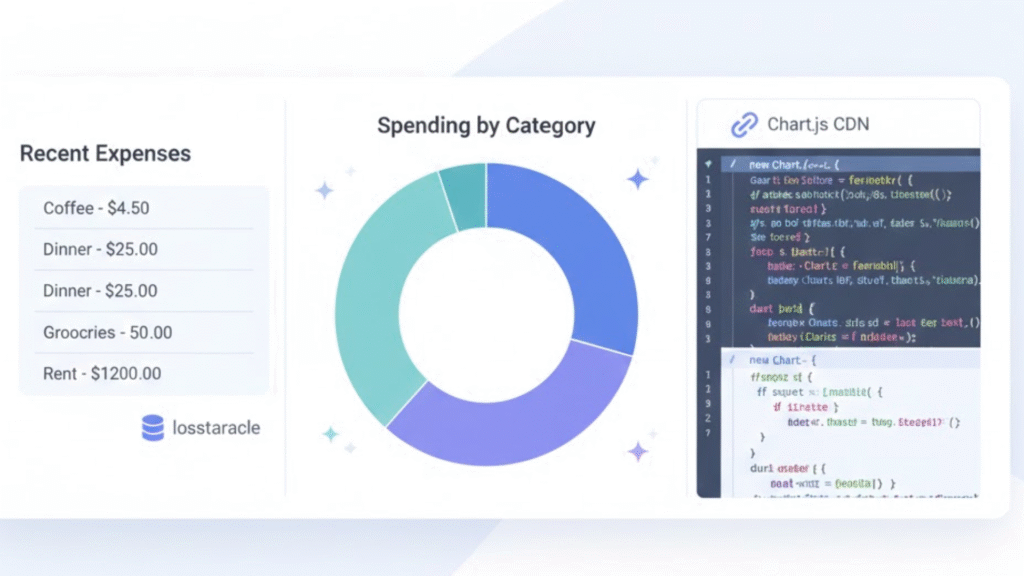
Next Iteration: “Now, create a separate dashboard page that reads from local storage and displays a list of all expenses. Add a section that shows the total amount spent.”
You’re now connecting multiple parts of the application. The AI will generate new HTML for the dashboard and the JavaScript to populate it.
Final Enhancement: “Use Chart.js (via CDN or npm) to add a pie or doughnut chart to the dashboard; Chart.js has straightforward examples for pie charts in its docs.” (2)
This prompt introduces integrating a third-party library. The AI will typically add the library via a CDN link and write the chart code. Suddenly, your simple app has a professional-looking feature.
The Mindset for Iterative Prompting
Vibe coding is a dialogue. You have to learn to speak the AI’s language. This means being specific. Instead of “make it look good,” try “use a modern font and add more spacing between the form elements.”
After every AI response, you must test the output. Click the buttons. Submit the form. Does it work as you expected? If not, your next prompt is a correction. “The submit button isn’t saving the data. Please fix the JavaScript function.” This debugging through conversation is a core skill.
Break everything into the smallest possible chunks. Asking for a form, storage, validation, and a chart all at once will likely result in a messy, broken codebase. Asking for them one at a time gives you control. You understand each piece as it’s added.
Landing Your First Project

You’ve built a functional app. Now, make it live. In Replit you can often publish a project from the workspace using the ‘Deploy’ or ‘Publish’ controls. For many simple static projects this is quick; for server apps or private deployments you may need additional configuration or account details.
Your app will get a public URL. You can share it or just use it yourself on your phone. This act of deployment is a significant milestone. It transforms your project from an experiment into a real web tool.
A minimal, well-scoped expense tracker (form + localStorage + simple chart) can be prototyped in under an hour for experienced users following step-by-step prompts. For beginners, allow more time for testing and debugging.
It proves that you can create software. Your next project might be one of the other outlines we discussed. The principles are the same. Start simple, be specific, and build piece by piece.
FAQ
What beginner projects work well before trying vibe coding for the first time?
Many learners start with a hello world project, a dark mode webpage, or an alert button. These beginner projects help you practice natural language prompts, small chunks build habits, and basic code generation without pressure. They also prepare you for conversational coding when you move on to something bigger, like a personal budget app or an expense tracker.
How do I know if an expense tracker is really the best first project for vibe coding?
An expense tracker teaches real world utility, simple web app structure, and clear steps. You practice form validation, data storage with local storage, and summary dashboard basics. You can add expense categories, positive amounts, a date picker, and even pie chart visuals. This makes it a gentle path for anyone asking what is the best first project for vibe coding.
What tools do beginners need to test iterate and build a simple vibe coding project?
You can use zero setup tools like a browser based IDE, a free account repl, or template selection in Replit. Many people begin with the Replit agent, Cursor AI, or an AI assistant chat. These make it easy to try iterative prompting, prompt refinement, debugging prompts, interactive preview steps, and a back and forth cycle using plain english describe prompts.
Can I learn prompt engineering through normal beginner projects without heavy coding?
Yes. Whether you build a mindful timer, a mood playlist, a digital vision board, or a snack box builder, you learn prompt engineering by giving natural language prompts, checking ai generated code, and using debug steps. It teaches confidence builder habits while staying simple. You can also explore research planning, UI overview notes, and docs integration as you grow.
How hard is deployment hosting for someone’s first attempt at vibe coding?
Most people deploy instantly with browser games, prototype app ideas, or a micro saas tool. Many beginner projects use HTML CSS JS, Python Flask, or basic API integration. You can try Firebase backend, replit hosting, or simple front end back end pairs. These options help you learn deployment hosting without stress and with clear, beginner tutorial steps.
Why an Expense Tracker Is the Best First Vibe Coding Project
An expense tracker stands out as the best first project for vibe coding because it blends real-world usefulness with simple, structured steps that teach you how to guide AI through clear, iterative prompts. You learn the core workflow of conversational development, form handling, validation, data storage, visualization, without getting overwhelmed by complexity. Each small step reinforces the habit of breaking ideas into focused prompts, testing often, and refining with clarity.
This project gives you momentum. By completing something practical and well-scoped, you build confidence in your ability to turn natural language instructions into working software. And once you’ve created your first functional app, the same approach carries smoothly into your next ideas, whether it’s a timer, a playlist generator, or a bigger personal project. The real skill is learning how to express architectural thinking through plain language, and an expense tracker gives you exactly that foundation.
If you want to build apps securely from day one, consider joining the Secure Coding Practices Bootcamp, a hands-on, expert-led program designed to help developers build safer software through practical sessions, labs, replays, cheatsheets, and real-world skills that fit any team or individual.
References
- https://cursor.com/
- https://www.chartjs.org/docs/latest/getting-started/
Related Articles
