You can turn a plain sentence into working code with the OpenAI API if you treat the response like a rough draft you’re allowed to mark up.
You send a clear request from a small Python script, the API answers with code, and you read that code the way you’d read a first draft, keep the useful parts, cut the rest, ask for changes in the next call. With an API key, a simple setup, and some back‑and‑forth, you can push a loose idea into a script that actually runs. If you want to see that rhythm in practice, keep reading.
Key Takeaways
- Securely manage your API key using environment variables from the start.
- Structure your prompts with a clear system role to guide the AI’s output.
- Use iterative refinement and streaming to build and debug code efficiently.
Getting Your OpenAI API Key

The first real gate you hit is the API key, and it feels a bit like being handed a master badge.
You go to platform.openai.com, sign up or log in, and head into your user settings. From there, we look for the API keys section and click “Create new secret key.”
Giving it a clear name helps later, something like python_code_gen is what we usually recommend in our bootcamps. The key appears once, and only once. If you forget to copy it now, you’ll be generating a new one.
In our secure development training, we hammer this point: that key is basically your root password plus your credit card. We treat it like a secret we’d never paste in chat, never drop into screenshots, and definitely never hardcode into a repository.[1]
Instead of writing it inside the script, we store it as an environment variable. This practice is part of the essential tools and editors mindset that keeps secrets isolated from codebases and prevents accidental leaks. That’s our baseline standard. On macOS or Linux, we open a terminal and run:
export OPENAI_API_KEY=”your_key_here”
On Windows, the pattern is similar but the command changes:
setx OPENAI_API_KEY “your_key_here”
What we’re really doing here is separating secrets from code. When someone later uploads their project to GitHub, that key isn’t sitting there in plain sight. In secure coding practice, this is one of those simple habits that prevents painful stories later.[2]
Installing the OpenAI SDK
Once the key is safely tucked away, the next step is teaching our code how to talk to the API.
For most of our labs, we use Python because it’s forgiving for beginners and powerful enough for real projects. Installing the SDK usually takes less time than explaining what it does. In a terminal or command prompt, we run:
pip install openai
In workshops, this is often the moment where someone worries about configuration, but the nice part is that the official client library is designed to stay out of your way. After installation, the OpenAI client automatically reads the OPENAI_API_KEY environment variable we just set.
This seamless integration is one reason why many prefer a complete review of the windsurf editor shows how modern tools streamline environment handling with minimal friction. No extra lines to load it, no secret strings scattered through your files.
That quiet behavior matters from a security angle. Our code doesn’t need to know the actual key value; it simply trusts the environment. When we review student projects, we can scan the repo and immediately see whether any credentials slipped in by mistake.
For those who live in the JavaScript world, the pattern looks almost the same. In a Node.js setup, you’d use:
npm install openai
Different ecosystem, same rulebook: keys in the environment, client reads from OPENAI_API_KEY, no secrets pasted into source files or shared gists.
Quick recap for both stacks:
- Python: pip install openai
- Node.js: npm install openai
- Authentication: SDK pulls OPENAI_API_KEY from environment, no hardcoding required
Your First Code Generation Prompt
Now comes the part that usually hooks people: watching a sentence turn into code.
We create a file, say first_code.py, and start minimal. The import is straightforward:
from openai import OpenAI
client = OpenAI()
At this stage in our bootcamps, we remind learners that we’re not “talking to magic,” we’re building a conversation. The core call is client.chat.completions.create, which works like a structured chat where every line has a role. That role system is where we steer behavior.
We start with a system message to set expectations for the model. For a focused coding exercise, something like this keeps the reply clean and testable:
{“role”: “system”, “content”: “You are an expert Python coder. Respond only with executable code.”}
That line is lifted almost exactly from the prompts we use in secure coding labs. It cuts out the explanation and keeps the response tight, which makes it easier to scan for insecure patterns.
Then we add a user message that describes the task, clearly and specifically. Rather than “write some code,” we’ll say:
{“role”: “user”, “content”: “Write a function to find the Fibonacci sequence up to n terms.”}
Putting it together, the first working example often looks like this:
from openai import OpenAI
client = OpenAI()
response = client.chat.completions.create(
model=”gpt-4o”,
messages=[
{
“role”: “system”,
“content”: “You are an expert Python coder. Respond only with executable code.”
},
{
“role”: “user”,
“content”: “Write a function to find the Fibonacci sequence up to n terms.”
}
]
)
print(response.choices[0].message.content)
When someone runs this for the first time in our sessions, there’s usually a pause as the function prints out. It feels almost too simple: one prompt, one response, and you’re staring at a usable function.
From our side as a secure development bootcamp, this is where we nudge people to slow down. The model can write a Fibonacci function, sure, but we still read it the way we’d read a teammate’s pull request, checking for edge cases, style, and any bad habits. That review mindset is what turns a neat demo into a reliable workflow.
Advanced Techniques for Better Code
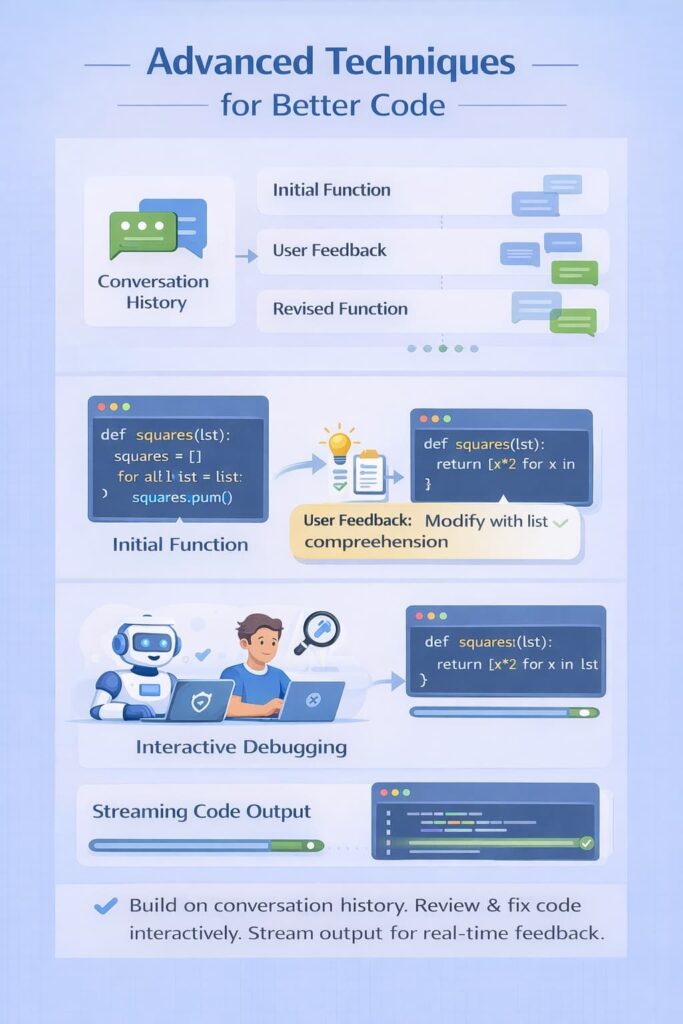
The first working function is where most people think they’re done, but that’s really where the interesting part starts.
Instead of treating each request as a one-off, we keep building on the conversation history. The messages array can grow as we go. After the model returns the first version of a function, we’ll often add another user message like, “Now, modify that function to use a list comprehension.”
Because the earlier messages stay in context, the model behaves a bit like a junior developer who remembers what you asked five minutes ago and adjusts the code instead of starting from scratch.
In our secure coding bootcamps, this back-and-forth is where learners start acting like reviewers, not just consumers.
We regularly paste broken or suspicious code into a new user message, something like, “Here’s a function that throws an error on edge cases, fix it and keep it safe.” The model analyzes the snippet and returns a revised version.
Sometimes it nails it, other times it gives us a near miss, and then we walk through why. That process, treating it like a pair programmer that still needs supervision, keeps people in the habit of reading every line with a security lens.
Streaming responses change the feel of this process again.
By passing stream=True to the create method, the model sends the output in pieces instead of making you wait for the whole answer:
stream = client.chat.completions.create(
model=”gpt-4o”,
messages=[…],
stream=True
)
for chunk in stream:
print(chunk.choices[0].delta.content or “”, end=””)
We see the code appear line by line, which matters more than it seems. In longer generations, students can stop the run if the pattern looks wrong, or if they see unsafe practices creeping in. It feels less like dumping a wall of code into the editor and more like watching someone type next to you, where you can say, “Hold on, don’t do that,” before it gets out of hand.
Writing Effective Prompts for Code
Strong prompts look almost boring on the surface: clear, specific, and blunt about what we want.
When we write prompts in our courses, we always name the programming language, even if the system message already hints at it. A user prompt like, “Write a Python function under 20 lines that validates email input using a regular expression” is more predictable than simply saying, “Write a validation function.”
This approach echoes principles from what is the best editor for vibe coding, where precision and clarity guide better outcomes. Constraints matter: line limits, style (“use recursion,” “use OOP,” “avoid global variables”), or even “PEP 8 compliant” all push the model in a cleaner direction.
Examples change the game again.
If we need the model to match a house style, we’ll paste one of our own safe, reviewed functions and say, “Using this style, write a similar function for X.” That’s classic few-shot prompting, but in practice, it just feels like saying, “Copy this approach.”
The model tends to mimic structure, naming patterns, and even comments, which makes it easier to drop the new function into an existing codebase without it sticking out.
Thinking step by step in the prompt also helps.
For bigger tasks, we break the request into a sequence:
“First, import the necessary libraries. Second, define a class called DataProcessor. Third, add a method to clean the input data.” When we do this during live sessions, the code we get back is usually more organized, sections are easier to scan for unsafe operations, risky parsing, or insecure defaults (like weak random generators or poor error handling).
A few habits we lean on and teach:
- Specify Language: Always call out Python, JavaScript, etc.
- Set Constraints: Line limits, style rules, or paradigms (OOP, functional, async).
- Use Examples: Provide short, reviewed snippets the model can imitate.
Security threads through all of this.
We remind learners not to ask the model to blindly write code that handles encryption keys, raw passwords, or direct secret management unless they’re ready to audit that output with real care. The model can help draft patterns, but our role is still to enforce secure engineering principles, not outsource them.
Managing Your Usage and Costs
| Scenario | Recommended Model | Reasoning | Cost Impact |
| Early prompt experimentation | gpt-4o-mini | Fast feedback while refining prompts | Low |
| Simple code generation | gpt-4o-mini | Sufficient for basic logic and structure | Low |
| Complex reasoning or refactoring | gpt-4o | Better long-context reasoning | Higher |
| Iterative debugging | Start with mini → upgrade | Validate prompt behavior before scaling | Controlled |
| High-frequency usage | Smaller model + tighter prompts | Reduces token waste | Predictable |
| Long outputs or streaming | Larger model, deliberate use | Improves quality for complex tasks | Intentional spend |
FAQ
How do I complete the OpenAI API setup for code generation securely?
OpenAI API setup starts with API key creation in the dashboard, then storing it safely using an environment variable API key. On macOS, use export API key; on Windows, use setx API key. Avoid hardcoding secrets. Proper secret key management protects authentication, supports secure key rotation, and prevents accidental exposure during development or version control commits.
What is the simplest code generation tutorial using Python?
A beginner-friendly code generation tutorial uses the Python OpenAI SDK with client initialization Python after pip install openai. You send a messages array structure to the Chat Completions endpoint using a clear system prompt coding and user prompt code. Start with a Fibonacci function example, parse response choices, and return executable code output.
How can I refine generated code without rewriting everything?
Iterative code refinement works best by prompting small, focused changes instead of full rewrites. Use prompt engineering code to request precise code edits, line limit code gen, or language constraints prompt. This approach helps with code bug fixing, refactoring large codebases, and pair programming AI workflows while keeping control over logic and performance.
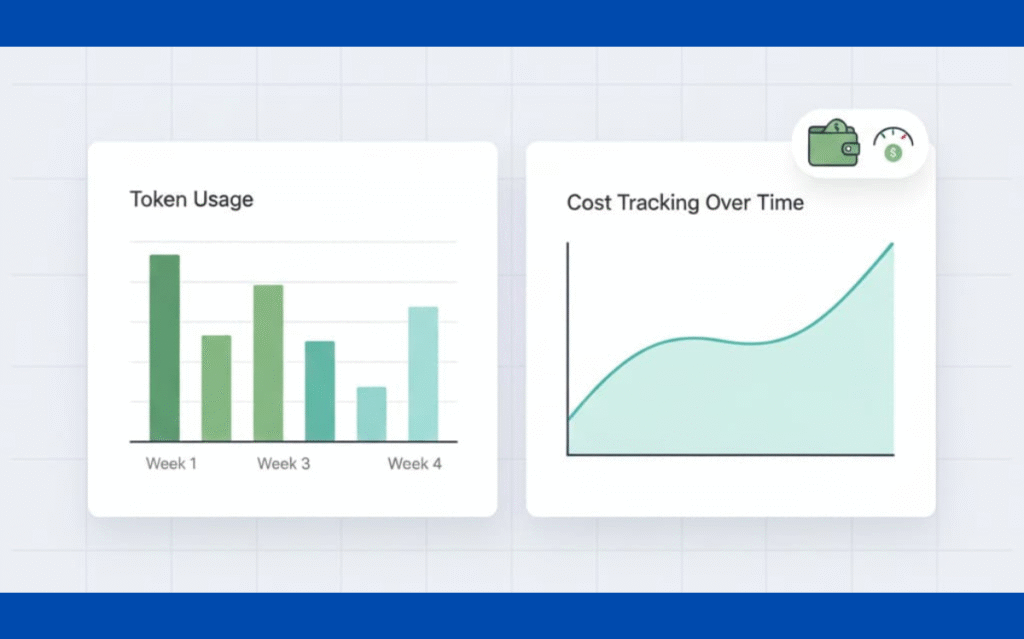
How do I manage costs and token usage during development?
Token usage monitoring is essential when scaling code generation. Track requests in the billing dashboard check and apply cost management API practices. Use max_tokens limit, stop sequences code, and gpt-4o-mini testing for experiments. Lower temperature sampling and careful prompt scope reduce waste while maintaining reliable outputs during software engineering tasks.
Can I stream and structure responses for real-time coding?
Yes, streaming code responses allow real-time feedback during development. Enable delta content streaming to receive partial outputs, then assemble structured outputs JSON. This supports real-time code streaming, conversation history code, and agentic workflows coding. Streaming improves latency optimization code and helps benchmark code performance in fast prototype generation environments.
Making OpenAI Your Coding Partner
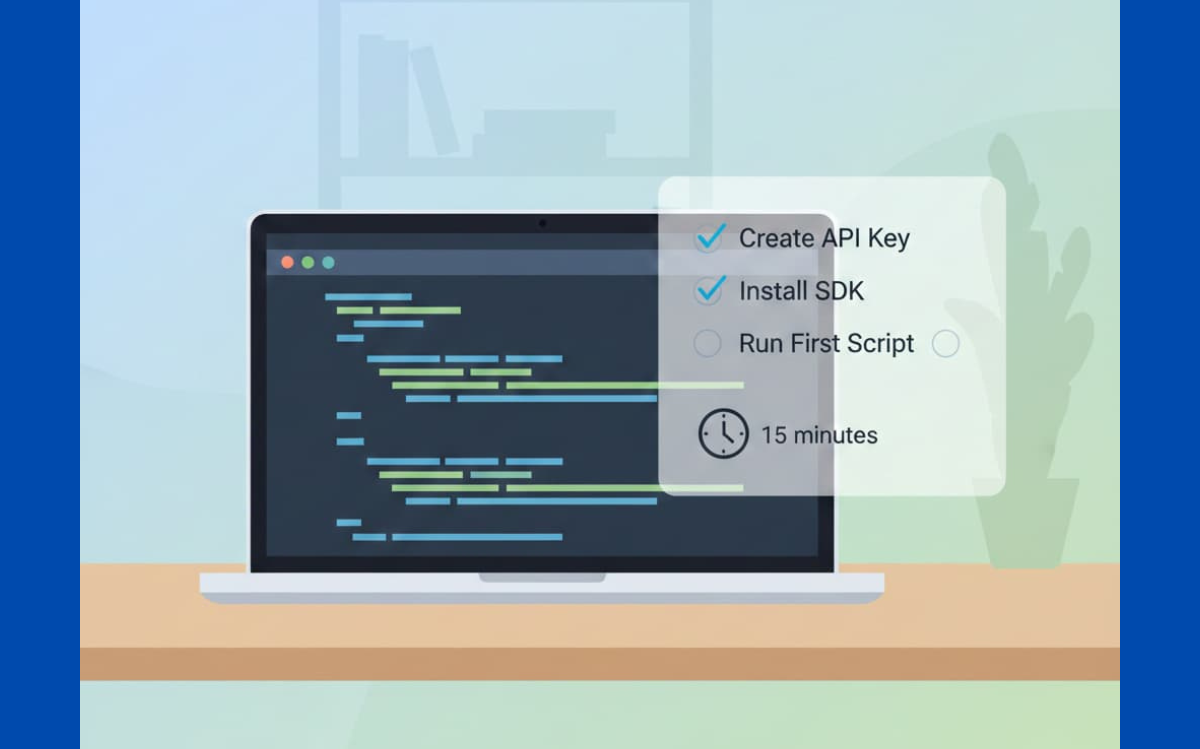
Setting up OpenAI for code generation isn’t about replacing developers; it’s about giving ourselves another sharp tool. In under fifteen minutes, you can go from account signup to a working helper function, as long as you follow basic security habits.
Then the real work starts: learning how to “talk” to the model. Start small. Refactor one ugly function, test it, harden it. Use the draft as fuel, and let your own judgment decide what ships.
If you want to go deeper and make sure the code you ship is secure by default, the Secure Coding Practices Bootcamp is a practical next step. It’s a hands-on, developer-focused program covering real-world issues like the OWASP Top 10, input validation, authentication, encryption, and safe dependency use, without theory overload. Whether you’re an individual developer or leading a team, it’s built to help you ship safer code from day one.
References
- https://www.schneier.com/blog/archives/2008/03/security_is_a_1.html
- https://owasp.org/www-project-top-ten/